

| English | Korean | Chinese | Japanese |
Chapter 2. Configuration: Recording Schedule
Set up Recording Schedules
1. Select Schedule Item: Select a schedule item from the schedule table. For example, select "SCH1".
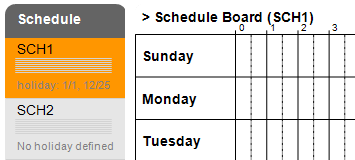
2. Select Recording Mode: At the bottom of the schedule board, choose "No Recording", "Continuous Recording", or "Video Event Recording".

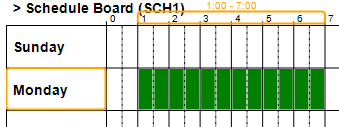
3. Set Time Range: Drag the mouse pointer to specify the time range. Each block represents 30 minutes on a weekday or holiday.
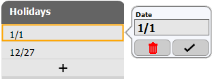
4. Manage Holidays: Holidays can be added (using the  button) or modified in the list.
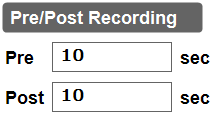
5. Set Pre/Post Recording Time: For Video Event Recording, you can set the pre- and post-recording times.
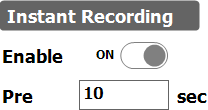
6. Enable Instant Recording: If you enable Instant Recording, the "Instant Recording Button" will be displayed on the Live Dialog.
a. Click the "Instant Recording Button" to start recording, even when recording is not scheduled.

b. You can also set a pre-recording time for instant recording.
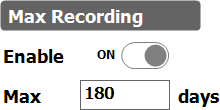
7. Enable Max Recording: If you enable Max Recording and set the number of days, video files older than this period will be deleted.
8. Assign Schedule to Device: Each recording schedule defined in this section can be assigned to an individual IP device in the "Device" section.